As Frightening As This Is

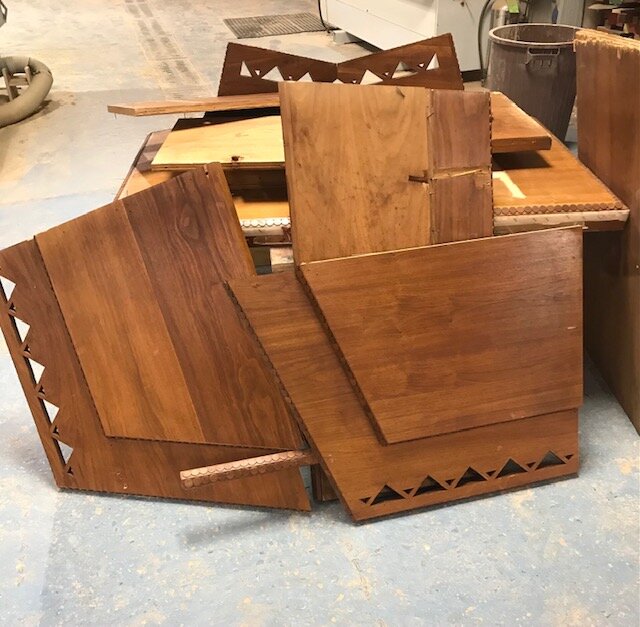
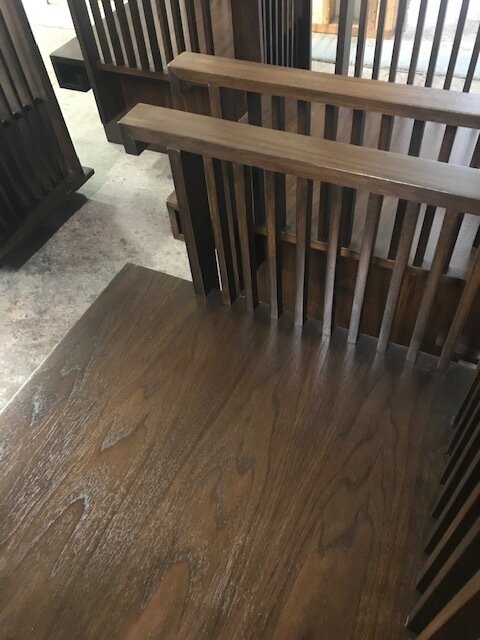
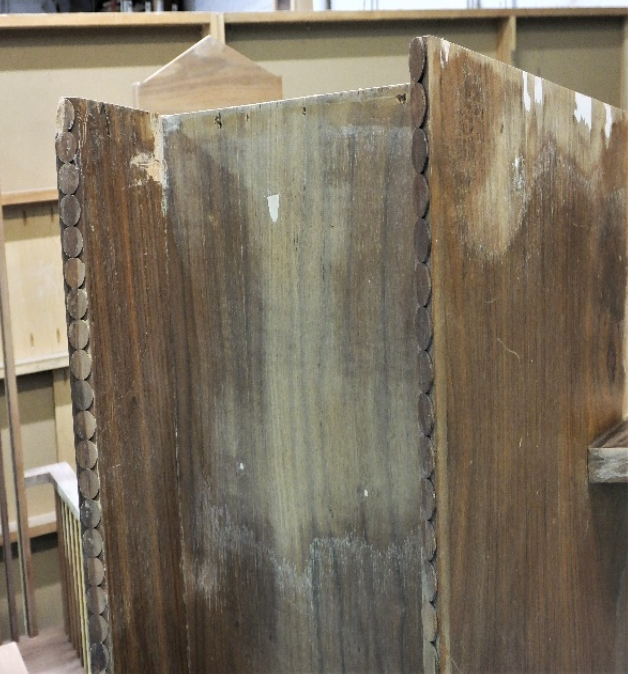
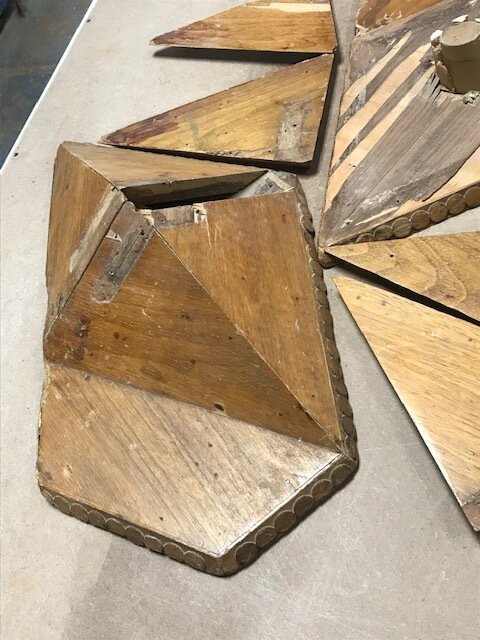
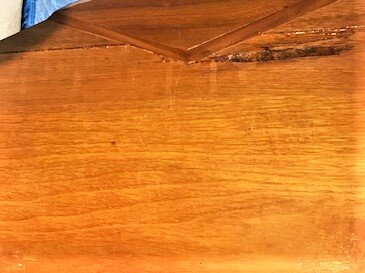
As frightening as this is, with a few taps of a mallet, the readers table in the Sisterhood made a slow controlled collapse into all its parts. No worries though as it was all the parts were intact, but still needed some heavy repair everywhere. Re-veneered large areas and rebuilt it so it was structurally sound. We made a new sub-top where outlets had been cut in. Here are a few before and after photos.

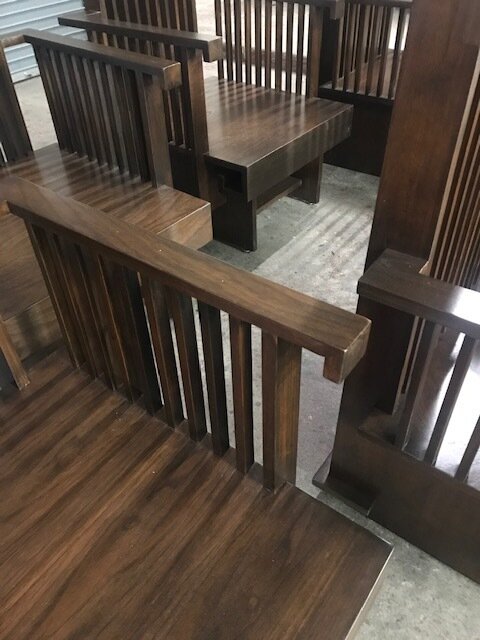
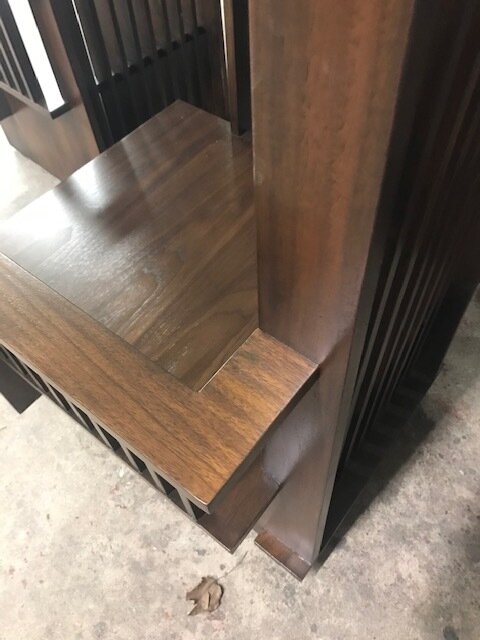
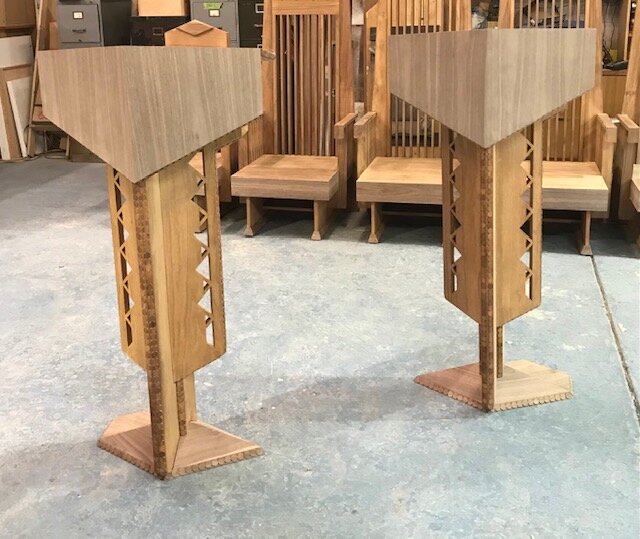
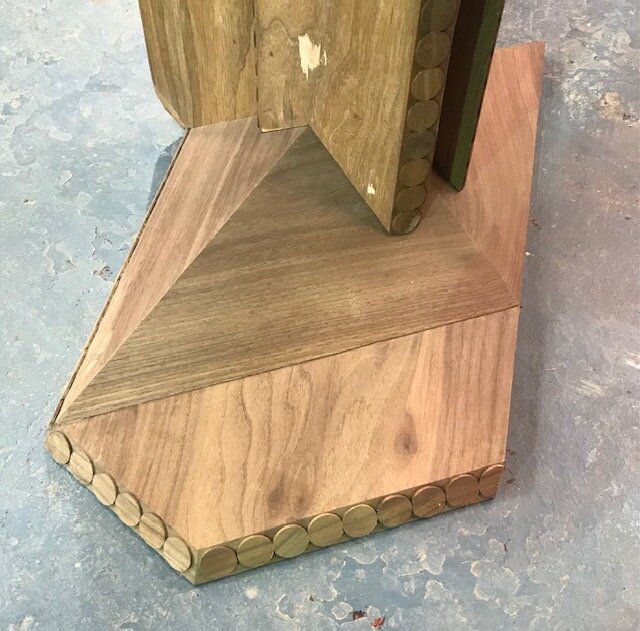
Along with the readerstable, the 2 lecterns came along for a similar ride. The tops and aprons had to be remade. The bases were damaged and worn. Some more before and after.

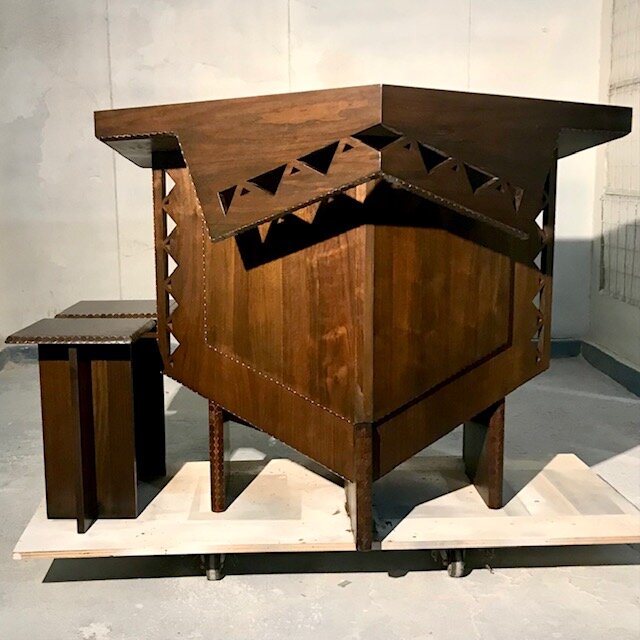
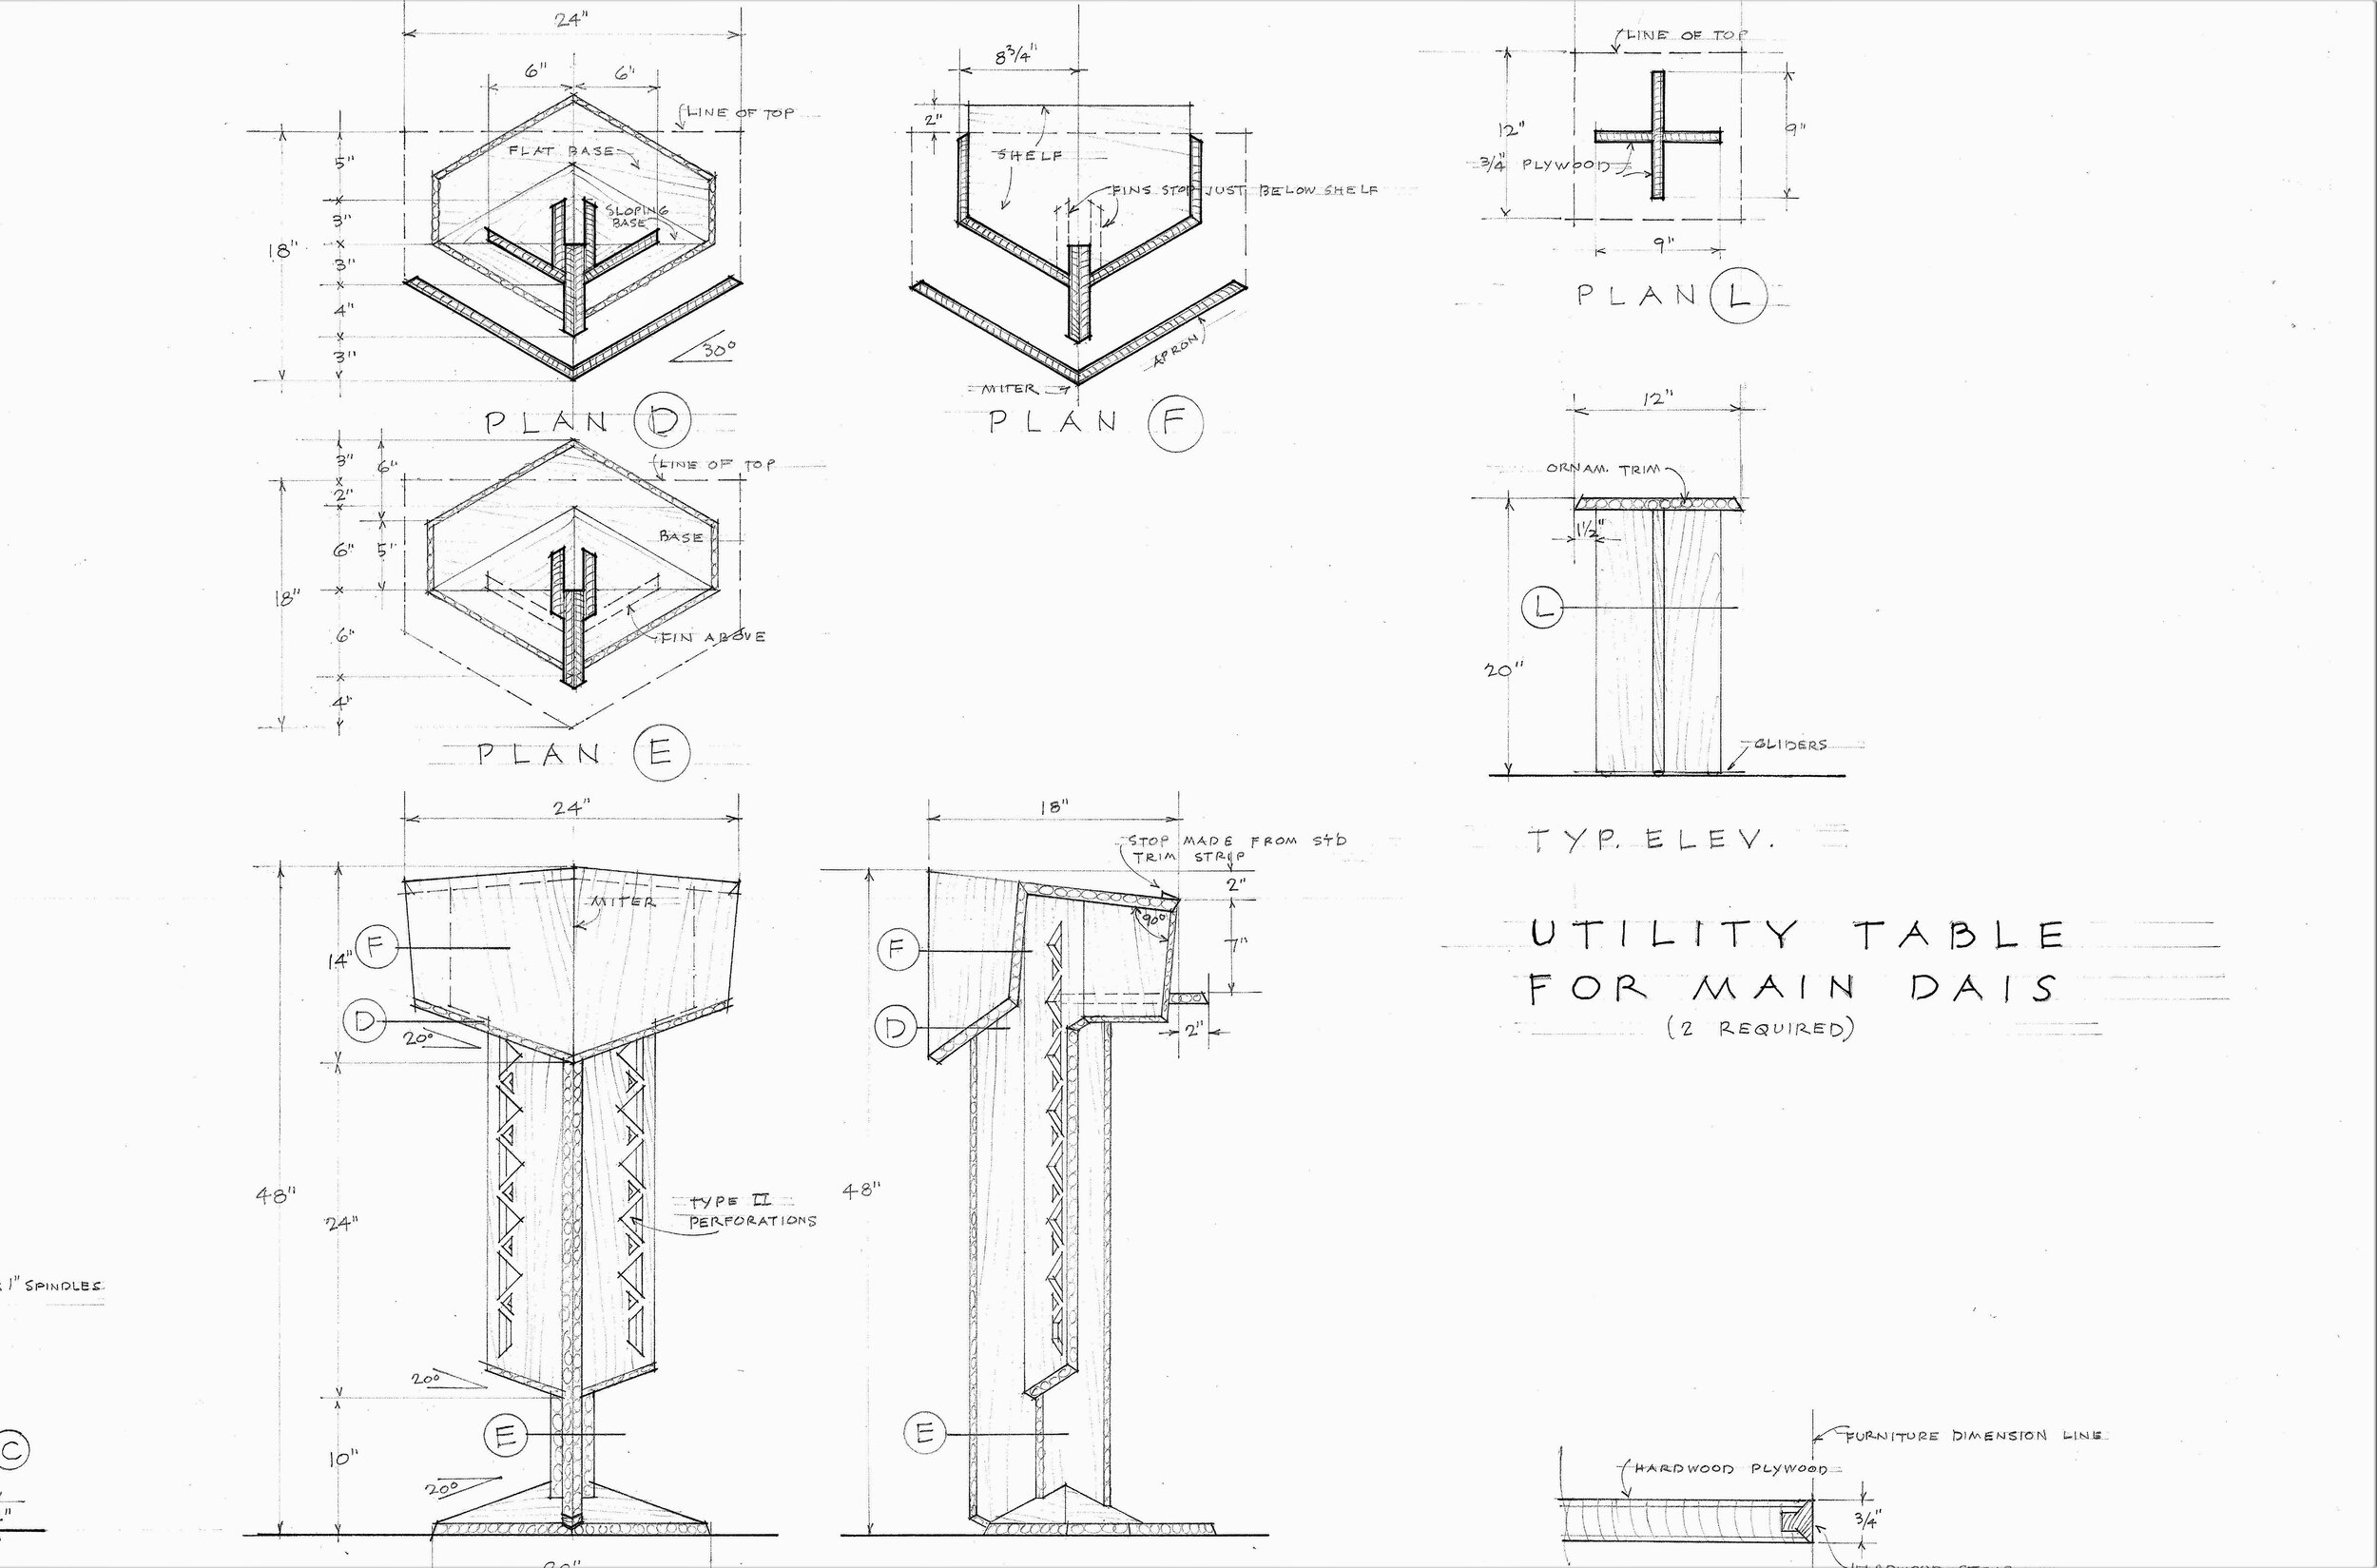
After re-veneering, the task of creating the triangular cutouts was ahead of us along with finishing to match; not just the face but all of the fretwork as well. The Sisterhood has just been delivered and installed.

The Sisterhood Chairs Finished

This is the group fully refinished. Three coats of modified acrylic lacquer. In all of our refinishing, we use what is known as “water white” acrylic lacquer. The top coats are colorless and allows the depth of color to remain as it was when applied. The acrylics are also more resistant to UV light and have a hard surface

Sisterhood

Continuing on with the restoration of the furniture in Temple Beth Sholom, we have moved down to the lower chapel, The Sisterhood. A much smaller space, more intimate, it is used for smaller gatherings. The furniture is in much better condition than the upper sanctuary. The ultraviolet damage is significantly less. Nonetheless, a 60-year-old finish has broken down, leaving the amber color of oils, and there is wear and tear on all the pieces.

Pictured here, is the group of 6 chairs that are similar to the main, but more diminutive and simpler in their construction. There is still a wide variety in the color left in the material and we will use the same finish approach as before.

In photos number 2,3,4 from the left, you can see some of the new veneer we have replaced on some of the arms, edges and elsewhere. To find it, look for the greyer in color. These pieces are in their sanded state, ready for color work and topcoats. There are 2 lecterns similar to the upstairs. Less “decorated” and simpler, and they have suffered abuse as well. This one shown here is in the middle of repair work and the original finish hasn’t been removed yet.

Still weeks away from completion (as the process cannot be rushed) all of the pieces will be restored like their bigger brothers.

Restored and Refinished

We delivered the furniture a few days ago. As you can see, all of the color work has come together to preserve these fine pieces. This is now a homogenous ensemble—the way it was.

We discovered he original color under some old repairs and used that as our finish sample. We did have to blend a lot of new wood with the original and it was a process over several days. The top coat is a modified acrylic lacquer which has been around for decades. It helps to slow down the ultraviolet stress that wood can suffer from.

We are now down in the lower sanctuary, restore the set of chairs that live there. Same process will be performed. And a note everyone out there who is following this. Never use any form of wax on newly refinished wood furniture, or older for that matter. Clean with a damp cloth or a “no wax” polish.

The Home Stretch

Now after a 2 months long endeavor in preparation work, we are ready to restore the furniture back to its original color and finish. There is extensive color work to do, requiring a blending the old with the new.

The lecterns required new bases in total, with all new penny points made in our shop, new veneer on the tops and aprons and more miscellaneous repair throughout. We now have a full restoration of these unfinished two pieces. There is a photo of the old base on the right.

The chairs had similar trouble, but were sound in their construction. We re-veneered the seat aprons, replaced missing parts, scarfed in more walnut where broken and sanded all surfaces.

Not an easy task with the design.

The natural color is varied and it’s now up to our master finisher, Frank Jones, to bring the ensemble together. The photo below shows the stain that will do the job. Mixing colors is an art form and after an hour or two, Frank came up the formula. After the base color, there is still blending to do throughout.

Now the real work begins. The arm on the left is our final choice that captures the original color. Our final top coats will be an acylic lacquer in a low sheen that will protect the material longer from sun bleaching and still have the look of the original oil finish. New tech for a better outcome.

A Mysterious Damage

One of the tall chairs had a remarkable damage near the diamond top. Has a look of insect infestation, but very doubtful.

Some of the time I spend on restoration is dedicated to deciphering how a type of damage occurred. An old bad repair? Maybe. But something odd happened here.

The decision was made to cut out the damage and replace it with new wood. We inlaid a new piece of walnut and reversed engineered the assembly. We kept the original veneered back of the rail intact. 

The Lecterns

Having the original shop drawings for the lecterns, even though they were revised later, was something of a surprise. I printed them out full scale and have them on my wall in the office. However, they are of no help on the restoration end!  

These pieces are surprisingly heavy and yet are delicate to look at and touch. The bottom of the bases, as seen in the photo, is where the work is. Love these pieces. Sculpted only in the way FLW worked his furniture. 

Courtesy of The Frank Lloyd Wright Foundation Archives (The Museum of Modern Art | Avery Architectural & Fine Arts Library, Columbia University, New York). All rights reserved.

Correcting A Problem

The philosophy in restoration is to preserve as much of the original material as possible. Here is an example of professional repair work using that philosophy. This is a before and after.

A back post on one of the chairs had a split crack. We were able to “humor” the split back together wholly, and successfully glue it back together. The repair will disappear in refinishing. In the bottom left-hand corner, a scarf joint was accomplished to replace the damaged edge back to its original form. This is a good example of preserving the original and adding in walnut where needed, to complete the original foot.

Beth Sholom Synagogue. The restoration and preservation of its furniture.

Welcome.

About a year ago, I was discussing this with a client of mine of over 30 years, about the work at the synagogue. His only comment was: ”Remember, this is the only one of its kind in the world.”

As we begin the restoration of the furniture, that statement lives inside of me. I have visited the synagogue several times, taken photos, inspected the furniture, taken notes to develop a plan and approach to best serve the intent of Wrights design.

It is my honor to be tasked to restore this important American legacy. We will be creating a visual and descriptive journal as we move through the process. For the congregation, the friends of the synagogue and all others that have interest in restoration.

Brian Boland

January, 2021

Courtesy of The Frank Lloyd Wright Foundation Archives (The Museum of Modern Art | Avery Architectural & Fine Arts Library, Columbia University, New York). All rights reserved.